Starbucks Copycat Pink Drink
As we continue my resolution of being money smart, I have started to realize how much money I waste ‘stopping for a drink”. If you add up the couple of coffee stops during the week, a cold pop or energy drink, it really adds up. Twenty dollars or so a week, ends up being over $1,000 a year! So we have started to get creative and try to make our drinks at home.
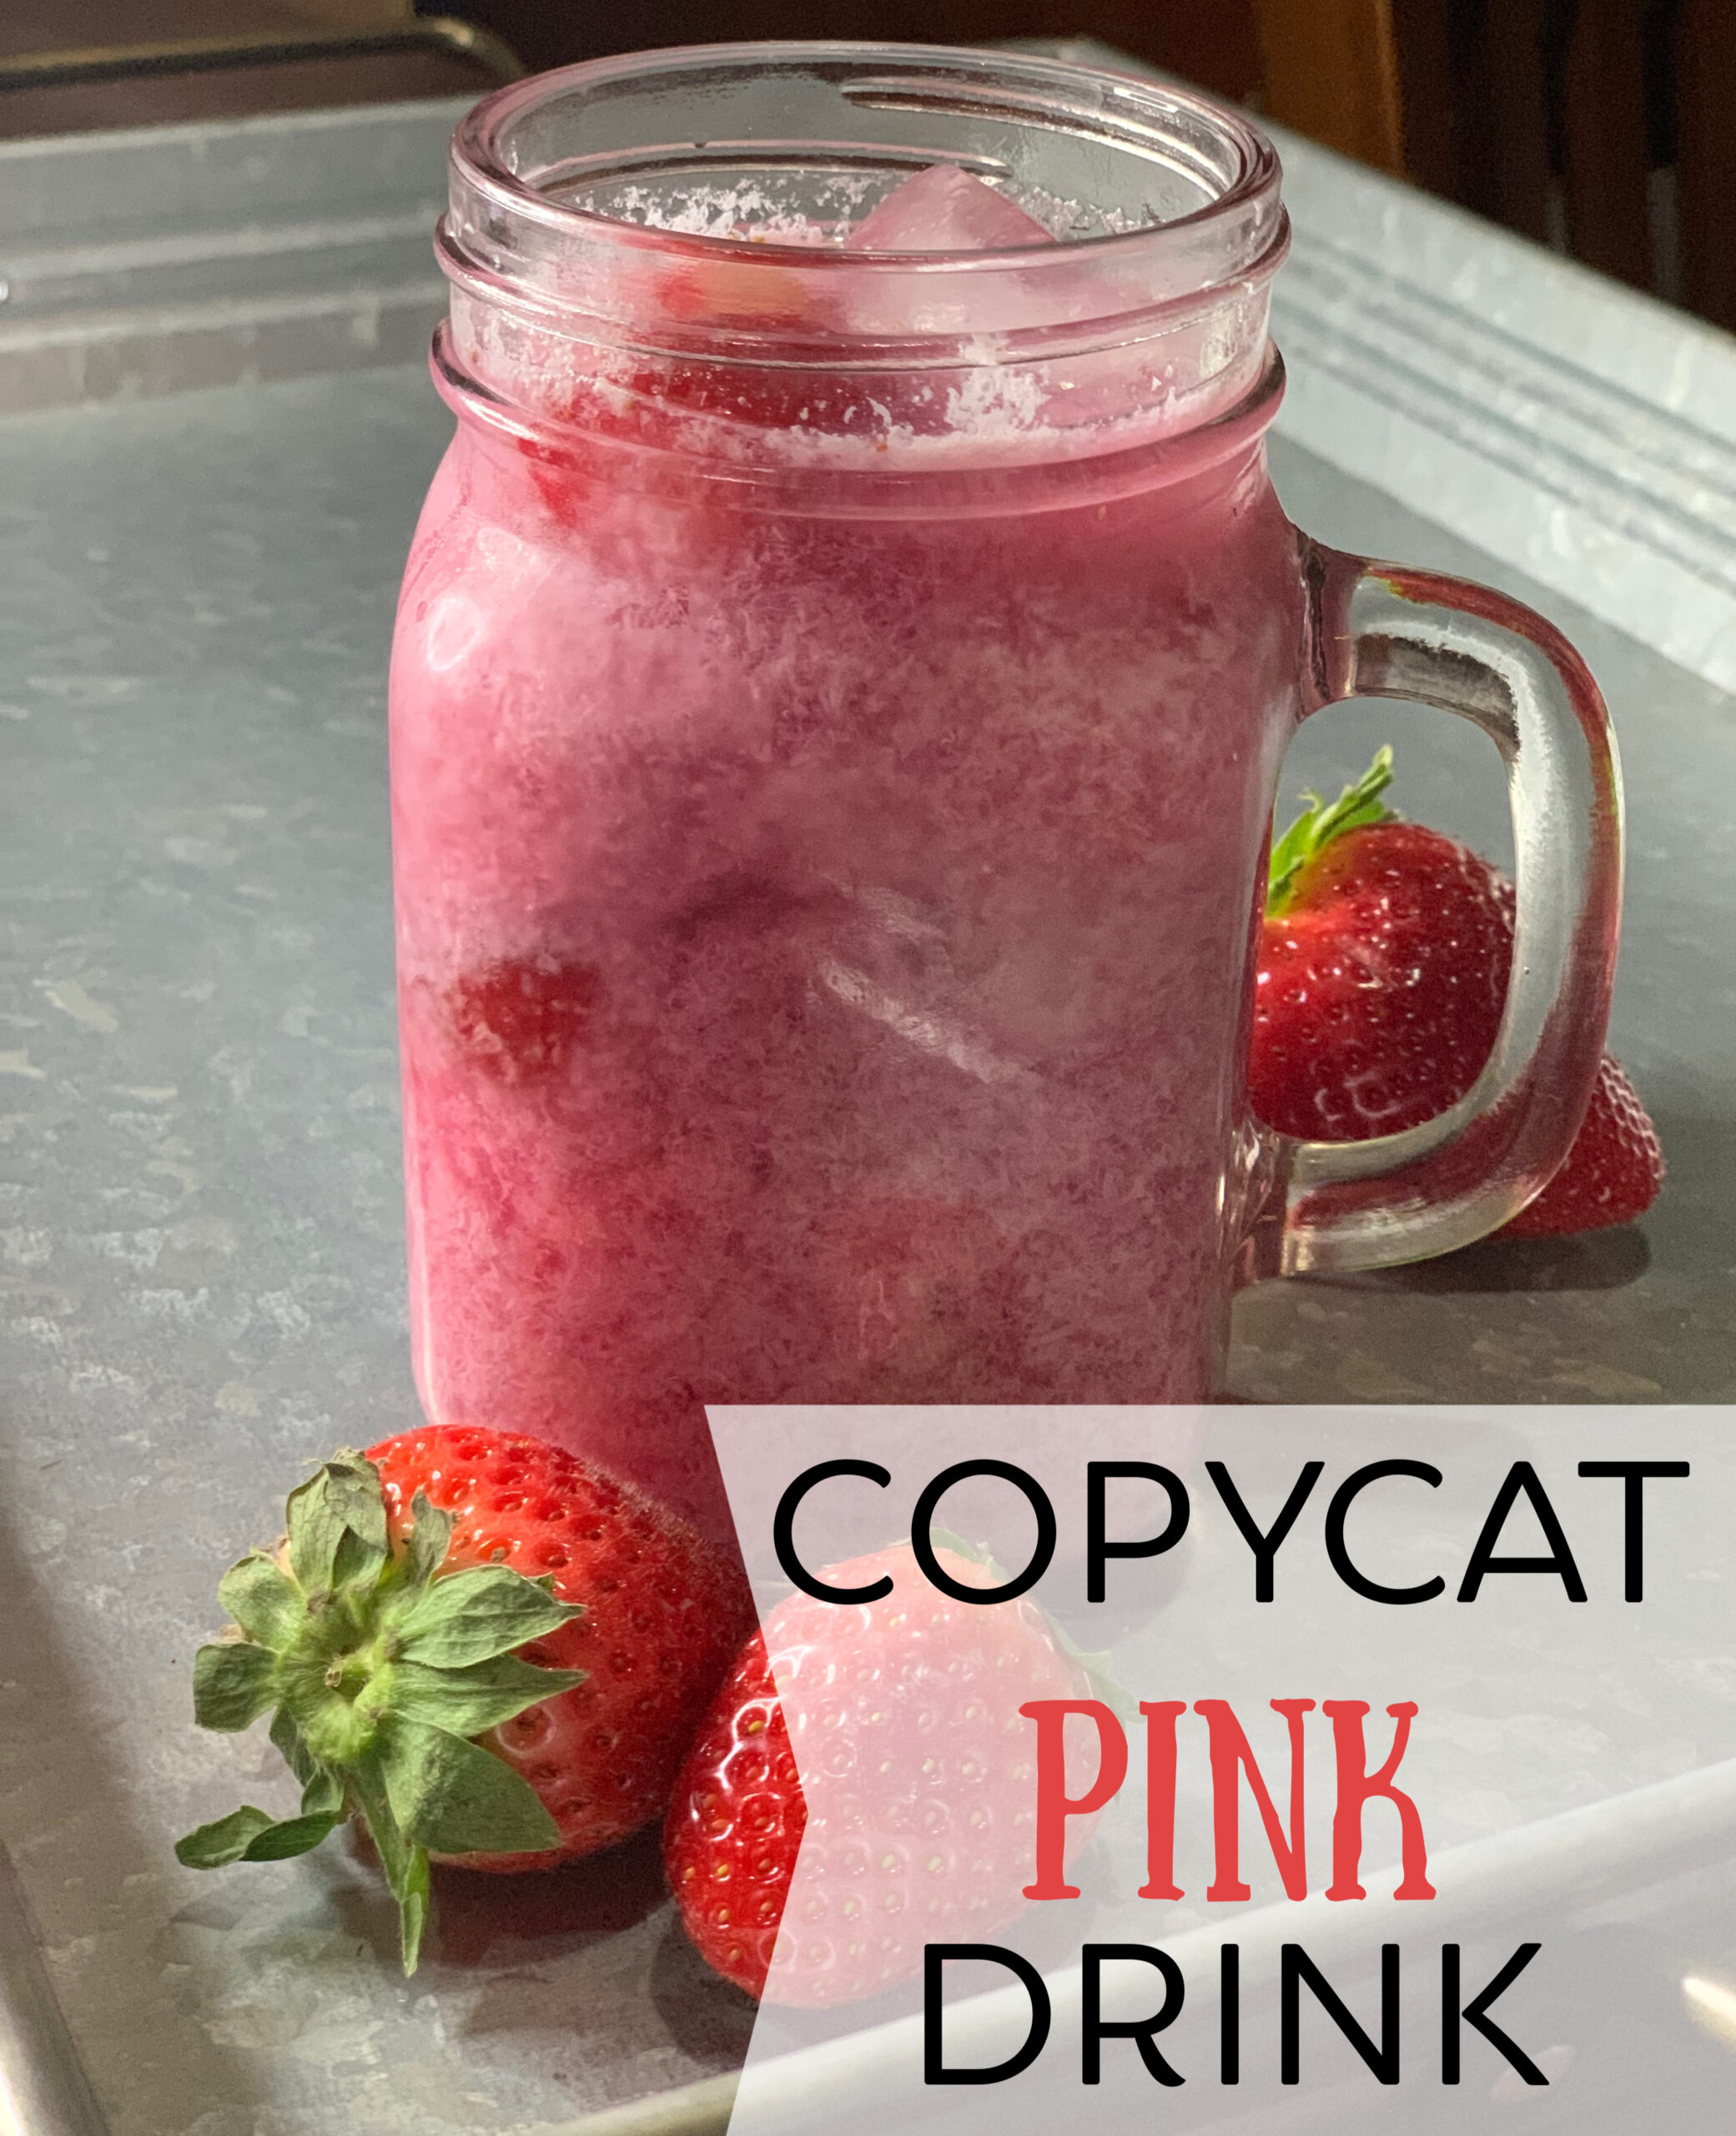
One of my daughters favorite drinks is the Starbucks Pink Drink. It’s a refreshing drink that is always a thirst quencher – so that was the first recipe we needed to recreate. I think we’ve done a pretty good job, and most of the ingredients I was able to find at Aldi (minus the Tazo Tea, but see below for more info about that). We are able to make approximately 10 drinks for less than $1 a piece! So here’s your Starbucks copycat pink drink recipe!
INGREDIENTS
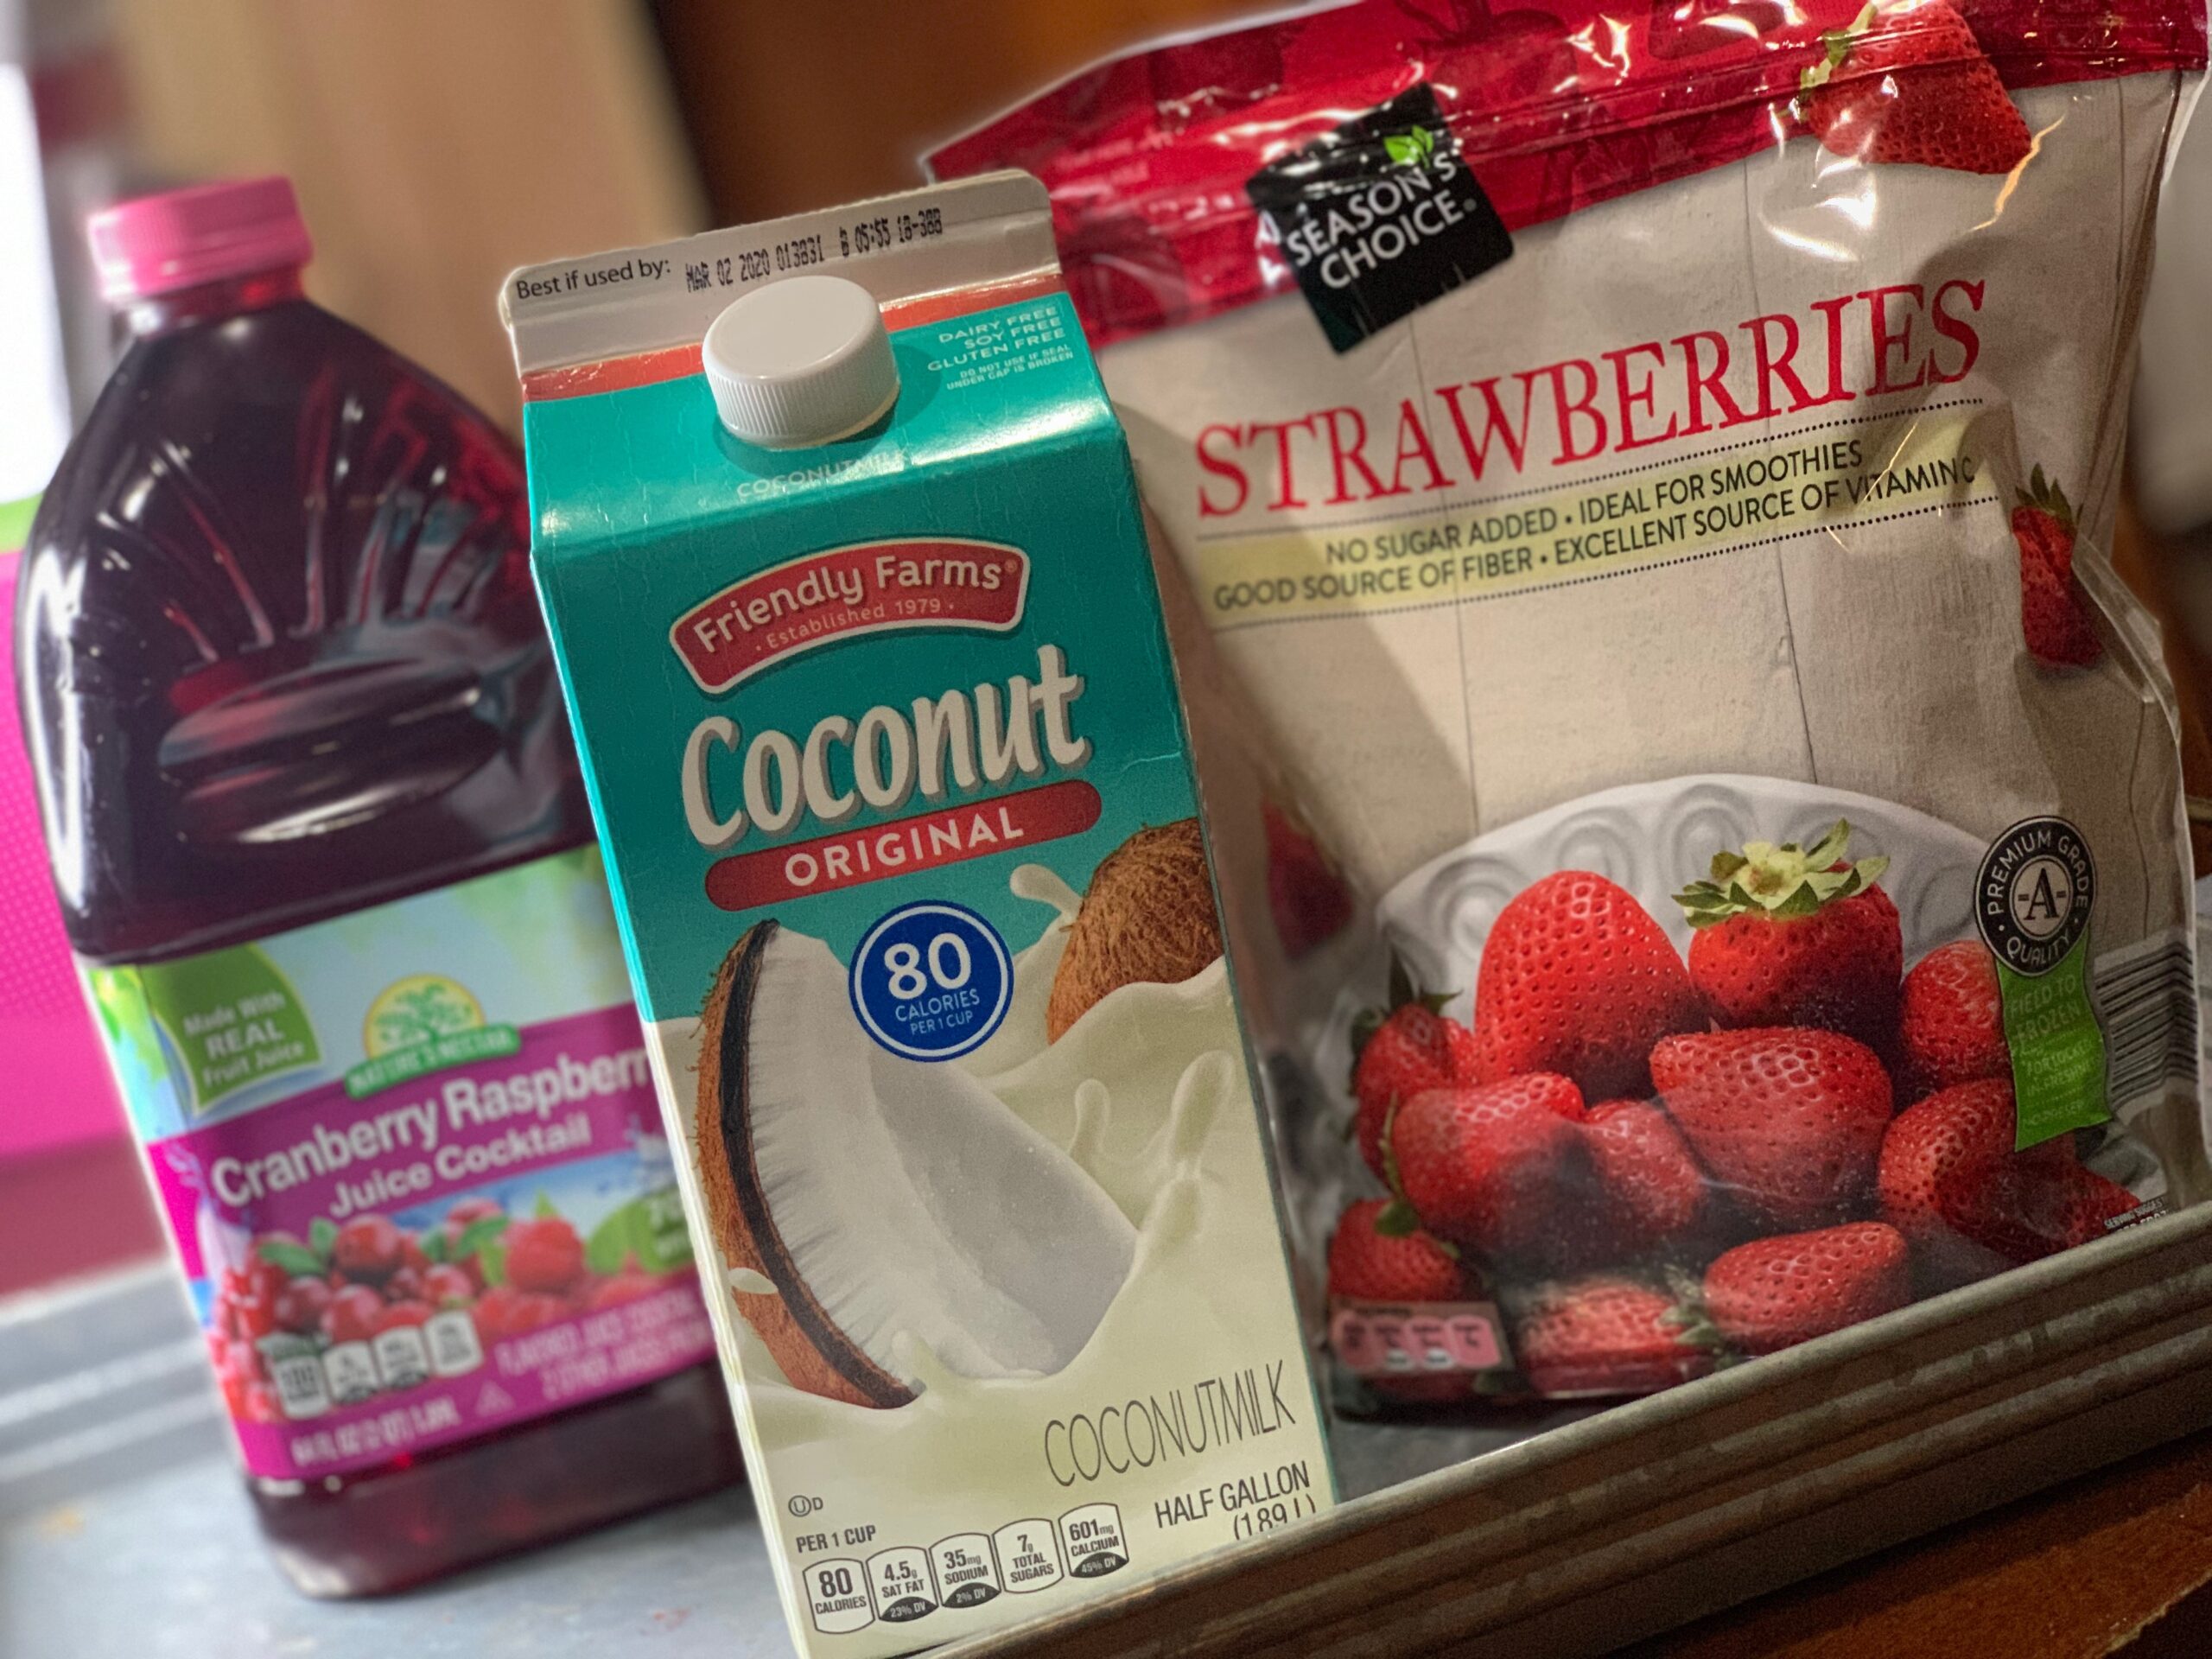
- Cranberry raspberry juice cocktail (now if you want the caffeine like in the Starbucks Pink Drink, use Tazo Sultry Strawberry Tea I can’t usually find it in stores so I order it on Amazon and its a little pricey so I don’t get it very often, and this juice works pretty well)
- Frozen strawberries
- Coconut milk
- Ice cubes
DIRECTIONS
In a shaker bottle combine the following ingredients:
6 -8 ice cubes
1 cup of juice cocktail, or strawberry tea
1/2 cup coconut milk
6-8 frozen strawberries
Pud lid on shaker bottle and shake well, pour, and enjoy your Starbucks Copycat Pink Drink!
Can you store Starbucks Copycat Pink Drink?
I recommend making it one drink at a time – I’m sure you could store for a few hours but I think anything longer than that it’s just not going to taste as good. The frozen strawberries will be soft and I’m not sure how the coconut milk with the juice would taste after more than a few hours.
If you like this be sure to try our Copycat Starbucks Strawberries & Creme Frappuccino!