This is a sponsored post on behalf of BODYARMOR. All opinions are my own.
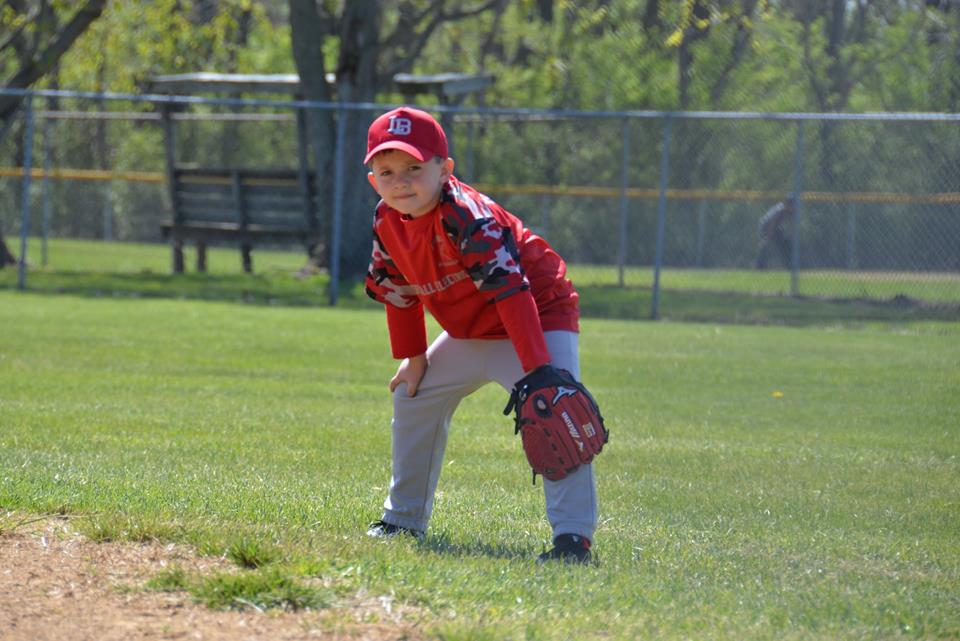
I have been on both sides of the field – literally. I was the softball player, basketball player, the one who ran track. All I had to worry about was giving my all while I was on the field or court, I never gave a second thought on what and how much my parents had to do for me in order for me to participate in all the sports – especially my Mom.
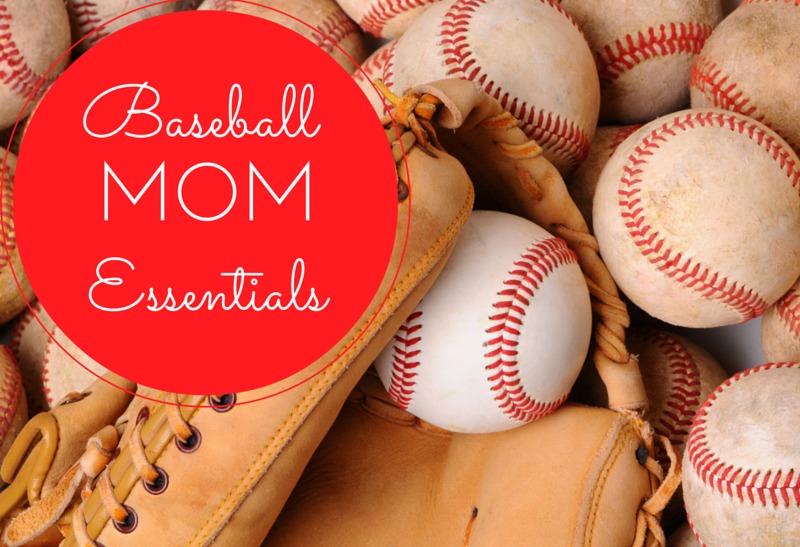
Being on the other side of the field has quite a bit more challenges than just playing it. Getting there is a feat in itself (I cannot tell you how many days I’ve literally rushed out of work to pick up my kids to rush them to their game – no time to change clothes or anything). Then theirs making sure they have everything they need, the game snacks, and so on.. it can be quite stressful at times. But I did come up with a list of baseball Mom essentials that make baseball season just a little bit easier.
My first tip before you begin to collect all your essentials is to be organized. Baseball season is a fun, yet stressful season that keeps you on your toes. If you are not organized and ready for it – it’s just going to add to the stress of it all. You can get baseball bags at baseballmonkey.com to ensure that all of your player’s gear is in one place and ready to be transported to the field.Plan a day that you do laundry catch-up, have meals that can be prepared in less than 15 minutes (less if possible – nothing is worse than hungry tired baseball players waiting on dinner!) I am not a very patient mama after being at the (hot) ball fields all evening or all day, and then coming home to a mess of laundry and still not knowing what to make for dinner as all the kids complain about how hungry they are – it’s no bueno. So make sure to be organized: this will make ball season so much more enjoyable.
Comfy Seat. You can spend hours and hours sitting at the ball field – in the hot sun (or cold wind and rain). Having a comfy, waterproof seat (and a canopy if possible) is completely essential. I like the ones with the cup holders, and even the ones that have the foot rest (I can get an even tan that way). Be sure it has a easy way to carry it too – like a bag, or strap so you can throw it across your shoulder when you are making the trek from field to field.
Baseball Bag of Must Haves. Kind of like your purse that you use for all things that we think our kids might need – think of this bag as the same; but baseball version. Carry sunscreen, bug spray, wet wipes, hand sanitizer, band-aids, Neosporin, tissues, a blanket and a hoodie, an umbrella, tylenol/ibuprofen (for the kids and for you), sunglasses, ponytail holder, and cash for the concession stand (trust me, if you rush to baseball right after work, you are going to need some popcorn, or a hot dog to hold you over!)
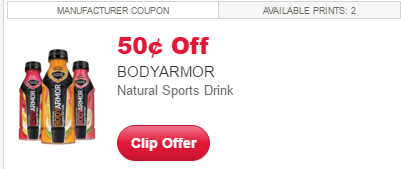
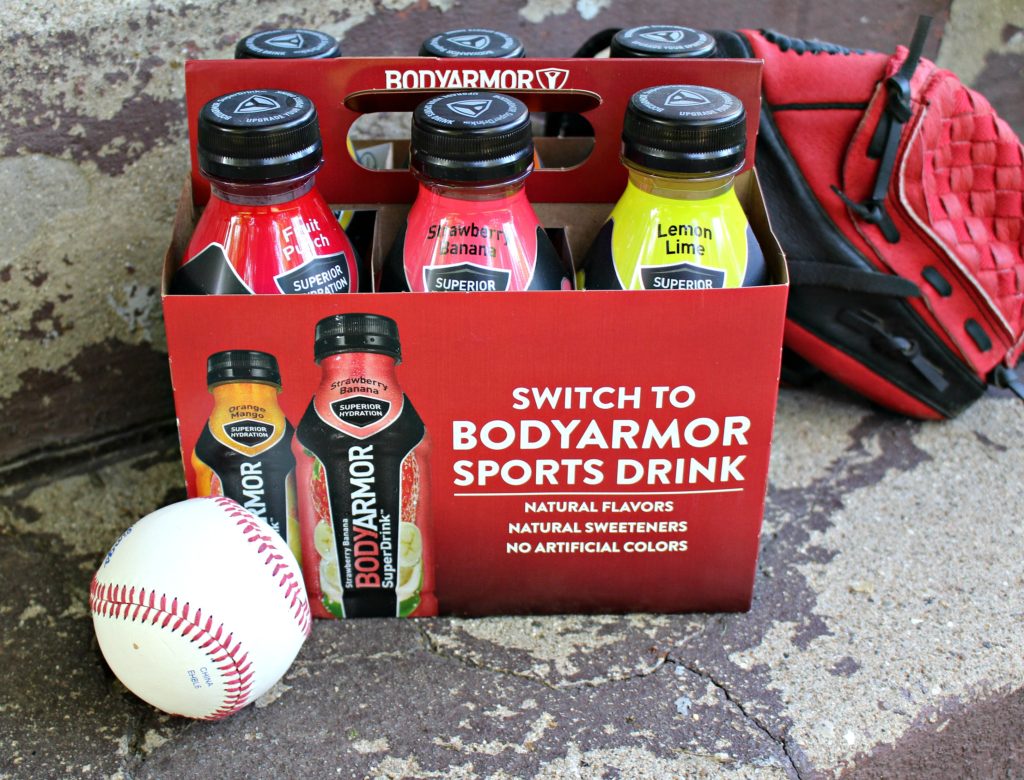
BODYARMOR Sports Drink. BODYARMOR is a premium sports drink with more potassium packed electrolytes, coconut water and vitamins. It’s a delicious natural drink that quenches your thirst as you sit in the sun during all the ball games – it helps keep me from dehydrating; I don’t feel like I need to drink a gallon of water when I get home! BODYARMOR has natural flavors, natural sweeteners and no artificial colors, unlike traditional sports drinks. It’s a GREAT choice for young athletes too, who don’t need all the extra sodium in their diets or the artificial ingredients that come from drinking other sports drinks on the market.
You can pick up yours at your local Kroger, Meijer or Target – and we even have this great coupon for you to download and save (you can print 2!)