
There has been a break in the winter weather recently, and I made the most of it. My back garden isn’t finished, but there are only a few tidying up jobs left, so I am very satisfied. Usually, I find myself staring out of the window at my backyard, dreading the first cutting of the lawn. If the grass starts growing for a couple of weeks when it springs back into life, the first cut is the hardest one.
The weather wasn’t perfect when I started work, so it was a job for a warm coat and warm boots. It did feel good to get outside again, even in the cold, after a long, dreary winter. I completed a couple of major jobs and a lot of smaller ones.
I’ll explain just what I got up to here and hope it will encourage you to get out early this year.
Fencing
I thought the garden needed framing properly. I like my privacy too, so it was time for new fencing. If you are thinking about a new fence, here’s how to go about it.
1. Remove all traces of the old fence.
2. Using string and some pegs, mark the line of your fence.
3. Dig the first post hole and make it two feet deep.
4. Place a post in the hole. Remember to use a corner post where needed.
5 Place soil and rubble in the bottom half of the hole and ram it in hard. The more time you spend on this job, the stronger the post will be set.
6. Pour concrete in the rest of the hole, up to ground level.
7. Measure the position of the next hole and follow points 1-6.
8. Install the first gravel board and fence panel between the posts before the second post is rammed and concreted. Assuming they will fit afterwards is a common mistake.
9. Keep repeating the process, section by section, until you have worked around the garden,
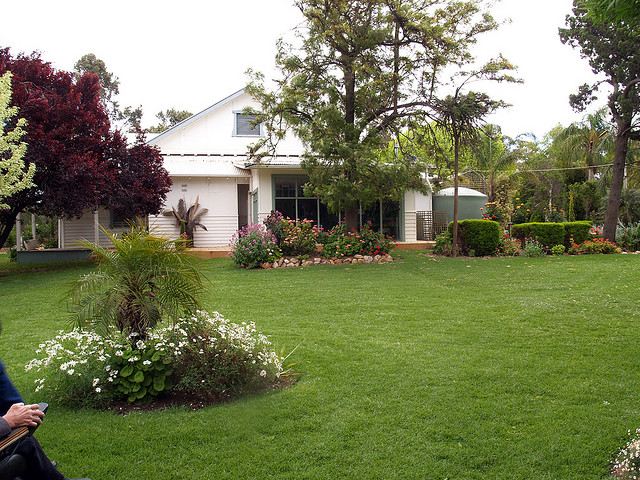
Framing the garden has had a dramatic visual effect.
Structure
My patio area gets a lot of sun, and it can get uncomfortable to sit out there at midday. Needing a way to create a little shade, I decided to build a pergola and train roses up it. Mine was only going to be a simple structure, so I didn’t need to employ professional pergola builders, I could handle this job myself.
The pergola itself consisted of four pressure treated posts set into the ground, one for each corner. These posts were simply connected together at the top with more treated timber. Then further lengths of timber were added from front to back creating the roof frame. Climbing roses were then planted to grow up each post.
Those were the two biggest projects. I have also managed to cut my lawn, weed the borders and prune my rose garden. Everything is looking great. All that is left to do is to jet wash my patio and paths to make them look like new. When all of the little jobs are complete, I will be able to enjoy my garden in the nice weather instead of working in it. Perhaps you should think about getting started early too. It’s much nicer to have the hard work behind, rather than in front, of you.

Can I come hang out in your backyard? It’s beautiful!
Backyard is gorgeous!! I wish mine looked as good as yours, but with two dogs that love to dig….sadly our backyard looks potful. Someday, we will have a yard like yours. Beautiful!!
nice picture this blog tells uses of post hole where are you uses this product and how can be uses its if you want to more about this visit here