
It seems like slime is all the rage for kids, no matter what the age. My daughters and my son all enjoy making slime, and our favorite is this fun & fluffy slime recipe. We’ve made it a ton of times, but seems like we always need to tweak it each time; I think because its so hard to really measure the amount of glue and starch you use.
Here’s what you’ll need for the fun and fluffy slime recipe:
- a large bowl for mixing
- a few cups (I just use throw away)
- a gallon of Elmer’s Glue (it’s the best value, and you’ll always have some on hand when you want to make a new slime recipe)
- Liquid starch
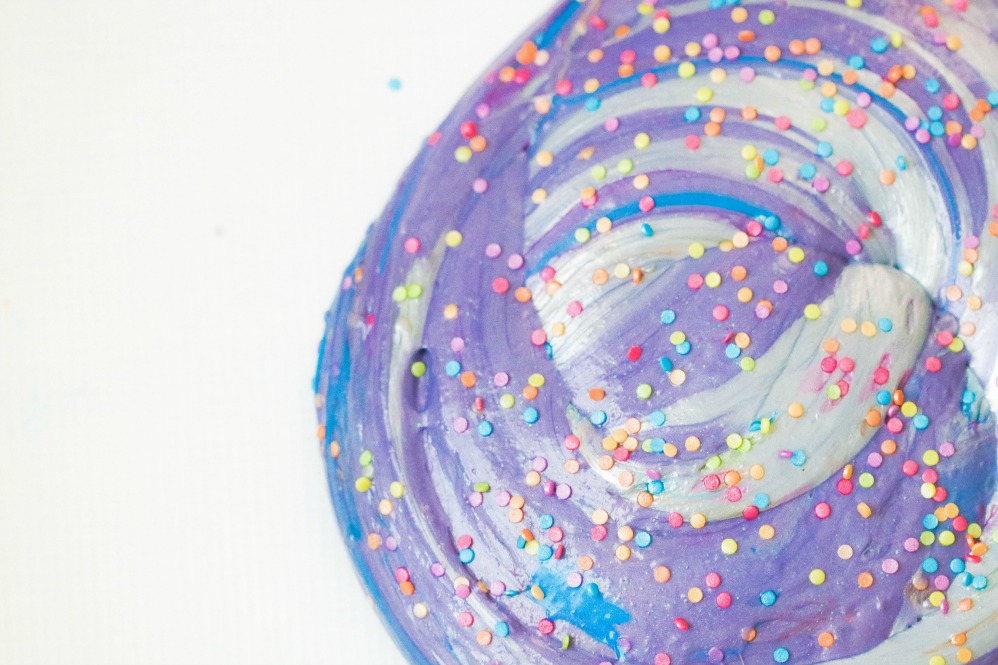
- Food coloring if you want to make colored slime (my favorite)
- Some slime bling – this is my favorite, as it has a little bit of everything
- Rags and/or paper towels for clean up
- Vinegar (also helps with clean up)
- and the secret to the ‘fluffy’ slime – extra creamy shaving cream
So first you’ll want to put about 2 cups of the glue in your mixing bowl. Again it doesn’t have to be perfect, because you’ll probably need to tweak it here or there to get the right consistency. Sometimes I have to add a bit more glue, sometimes I have to add a bit more starch. TIP: if it’s sticky, you need more starch!
Add about one cup of shaving cream, and mix the shaving cream and clue together. I have learned a spatula works the best. If you want color, add a *few* drops of food coloring, and add more until you get the color desired.
Stir everything together – and once its at the desired color, you will start adding the starch.
Add 2-3 tablespoons of starch to the glue/shaving cream mixture. Be sure to stir for a few minutes to make sure its mixed well, and then start kneading it kind of like a pizza dough. Then you can knead it on parchment paper, or a glass plate.
Just remember – if the mixture is too sticky, add more starch. If its too hard, add more glue.
Add your slime bling – let sit for a few minutes – and then enjoy!

