
As I am going about my house working on getting each room cleaned, organized and updated I’ve started to feel really good about this big project that I’ve taken on.to have my house in order and not stress about all the things I need to get done. I’m spring cleaning in a way, which I am hoping with a consistent regiment of chores and days set aside for DIY projects each month (like making my own DIY cigar humidor), that I won’t have to stress or feel that my house is in shambles and I can take the time to relax and enjoy time with the kids. This past week I started the process in my kitchen, which is a huge project to take on. Our house was built in the 1800’s, so we have plaster walls instead of dry wall, and it drives me crazy! The walls don’t seem as polished and smooth as drywall and the worst part? Trying to hang anything. After 3 years in our house I finally decided that I needed to hang my cute kitchen curtains, the blinds alone were just not cutting it. I had procrastinated because the same exact project that I had taken on in the living room had taken me what felt like forever, and I hadn’t had the patience or time to worry about the kitchen. As I began my project my heart sunk because I realized that someone else had previously tried to hang kitchen curtains as well – and failed miserably. There were at least a half a dozen broken, stuck, or painted over screws where I wanted to hang my curtain rod. So I took to the books (and the internet) to find the best ways to remove stuck screws and here’s what I found:
.
1. Avoid making the problem worse. If the tool you are using is slipping, stop using it! If it continues to slip it will wear down the screw head and make it harder to remove (and maybe impossible). Make sure you are going in the correct direction – counterclockwise – and press down hard as you are unscrewing will help prevent slipping, and causing more damage. Sometimes using a manual screwdriver instead of a power drill – not only to avoid making the screw or the wall more damaged -will exert more torque that you need to remove a recalcitrant screw. Some drills will actually lose their grip on the screwdriver bit if you put too much torque on them.
2.Use a screw extractor. The right tool for the job if the screw head is just worn, is called a screw extractor. This is essentially a screwdriver or screwdriver bit which has strong, rough metal threads right on the tip. These are intended to burrow into the metal of the screw head and get stuck there so you can put some torque on it. These worked great for the majority of the stuck nails in my wall. You can pick up some great screw extractor sets like the one I got on GotStock.com
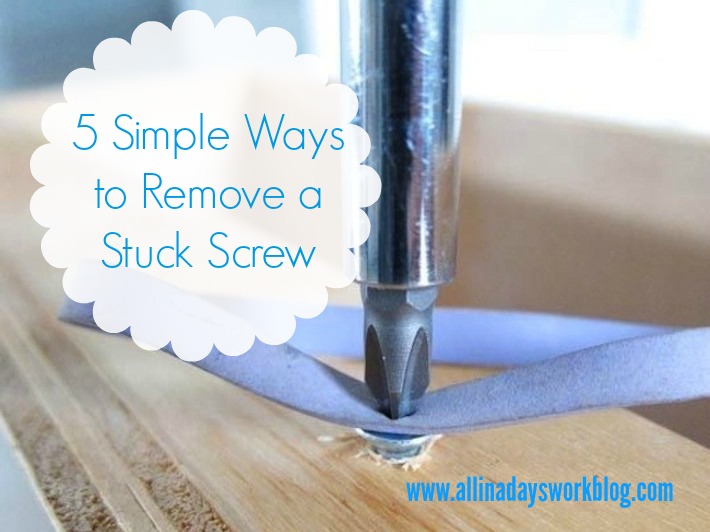
3. The rubber band ‘trick’. Often placing a broad, flat rubber band between the screw and the screwdriver will work if you put enough pressure on it, and rotate it slowly.The rubber band acts to fill in the space that the screwdriver cannot grip. (An alternative to a rubber band is a small piece of masking tape, whereby the adhesive side is pressed against the screw head)
4. Try a socket wrench. If you need a lot of torque because you are hurting your hand or you are not getting results you want, the best tool is a socket wrench. This gives you 6 inches or more of lever arm rather than the half-inch or so a screwdriver will give you. This majorly increases the amount of torque and pressure you can put on the screw.
5. As a last resort – drill it out. If all else fails, it is possible to drill out the screw with a power drill and bit the same size as the screw’s shaft. This should remove the thread. From here you can try to replace the old screw with a screw of a slightly larger size, use nuts and bolts instead of the screw (this will entail some welding, which is wayy over my level of expertise).
I am far from an expert, but these tips helped me complete my project – and keep my sanity. What are your tips for removing stuck screws?
